 Truck / SUV
 Jeep®
Jeep®
 Restoration
 Stock Replacement
 Late Model Muscle
 Tools
Tools
 Gifts, Clothing, & More
 Circle Track
 Street Rod
 Powersports
 Paint & Body
 Marine
 Jr Dragster
News & Events
-
Slide 1
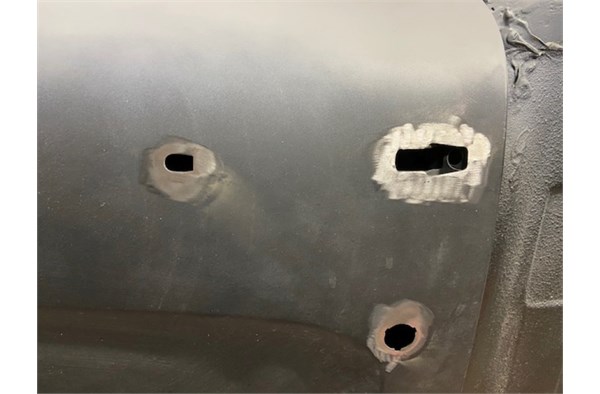
Metal prep is not expensive, but it is hard work and time-consuming. As my mentor once told me, prep it once for you, once for me, and once for everyone else. I wanted the Studebaker to have a smooth look, so all of the trim was removed and the holes welded shut. These are the locations for the door handles and lock, ground and ready for welding.
-
Slide 2
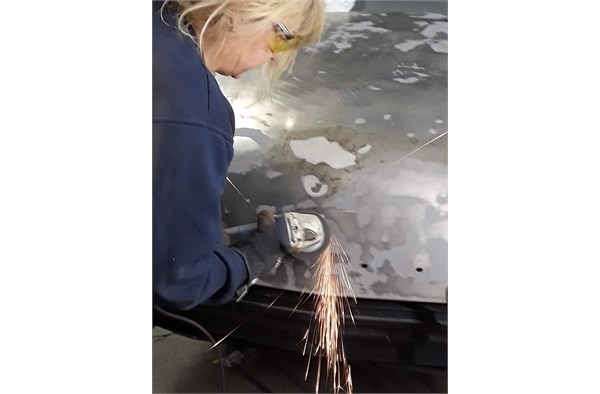
Prepping the trunk lid to fill the trim holes. Stew came with a coat of black primer on most of his sheetmetal. There were issues under that thin layer of color, like rust on the trunk lid. You can see some of the pitting just above where I’m grinding.
-
Slide 3
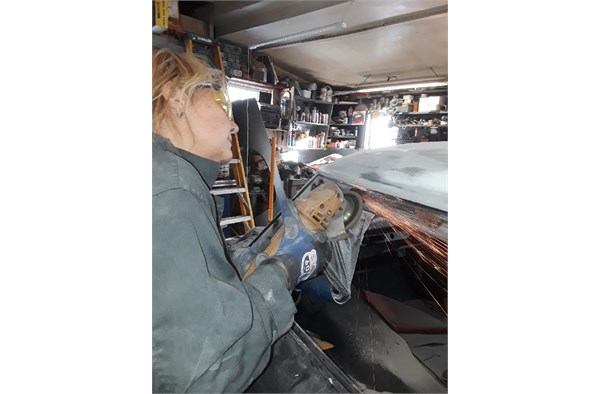
While I was hanging the doors, I ran my hand over them and found low spots and oil canning. After stripping them down to metal, I discovered that instead of repairing the metal, the previous owner(s) just added body filler to make them smooth. The problem is, the metal will flex and the filler would eventually crack. That can ruin your whole day, not to mention your paint job.
-
Slide 4
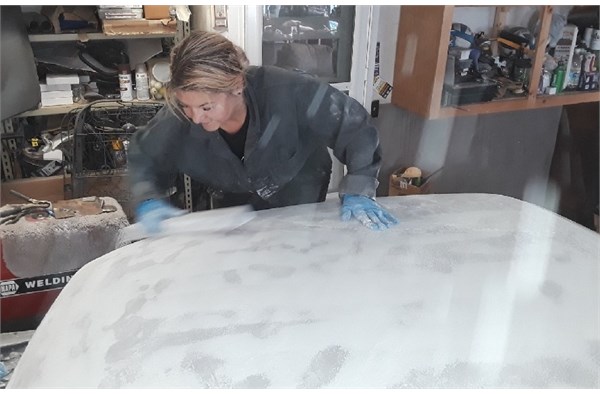
Sand-sand-sand. Skim coat filler, spray primer, then sand-sand-sand again. Tedious? You bet, but shoddy prep will show right through a paint job. I am going with a dark color, so I know all of this prep will pay off. If you know someone who likes to block sand, capture them and never let them out of the garage.
-
Slide 5
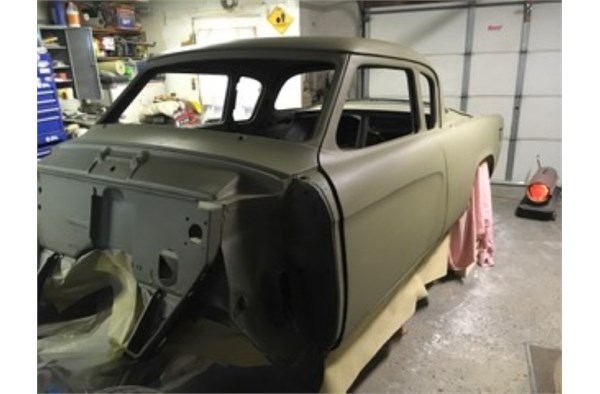
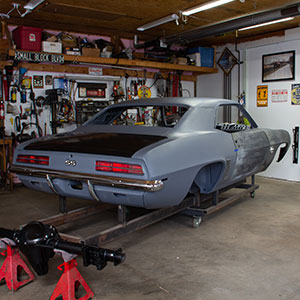
As much as I hate sanding, seeing the body looking good in a second coat of primer made the effort worthwhile. The lesson is, prep your surfaces the best you can.